|
A small group this week so we set the bubbles up with some challenges: - Who can make the biggest? - Who can bounce them the most? - How many can you group together? As you can see, the students took the challenges and really experimented with the equipment.
0 Comments
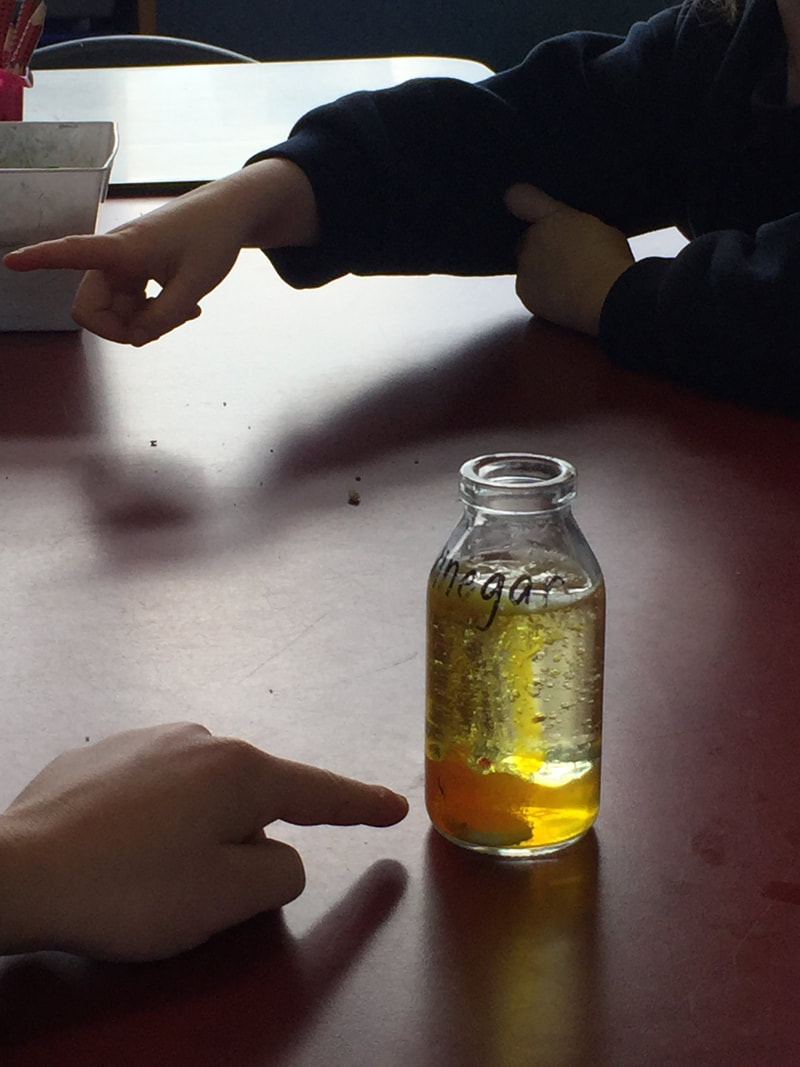
The questions posed were 'Are all liquids the same?' and 'What happens when you mix two liquids together?'. We first tried with two different coloured waters. When poured together they mixed straight away. We then mixed oil and water together and observed that the oil floated on top of the water. When drops of food colouring were added they slowly sank in droplets through the oil and then mixed with the water at the bottom. The next part of the experiment was to add an alka seltzer tablet that didn't react to the oil but did with the water. This effect creates a lava lamp in a jar. The oil floats on top of the water because it is less dense or lighter than water. The food coloring has the same density as the water so it sink through the oil and mixes with the water. When you add the tablet it sinks to the bottom then starts to dissolve. As it dissolves it makes gas, carbon dioxide. Gas or air, is lighter than water so it floats to the top. The air bubbles bring some colored water with them to the top. When the air comes out of the colored water blob, the water gets heavy again and sinks. It does this over and over again until the tablet is completely dissolved. Lots of science experiments include baking soda to add a bit of action but what do students know about it? Here are some of initial thought:
To find out what that some was we added baking soda to a list of liquids to find out what happened. -water - no reaction -vinegar - overflowed, large reaction -milk - no reaction -cleaning product - no reaction -oil - no reaction -Coke - some reaction -Dishwashing liquid - no reaction -Golden syrup - no reaction We then made the yummiest thing you can make with baking soda - hokey pokey! (There are no photos as we got caught up in the moment) 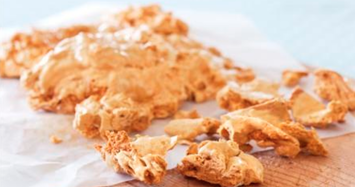
Here were some of the observations we made:
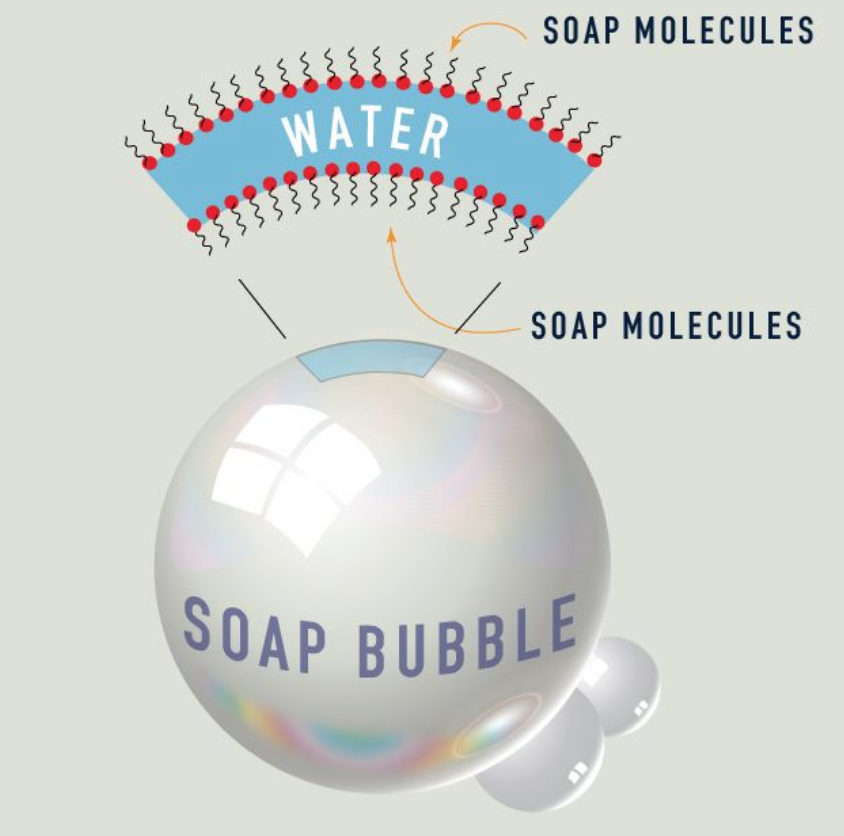
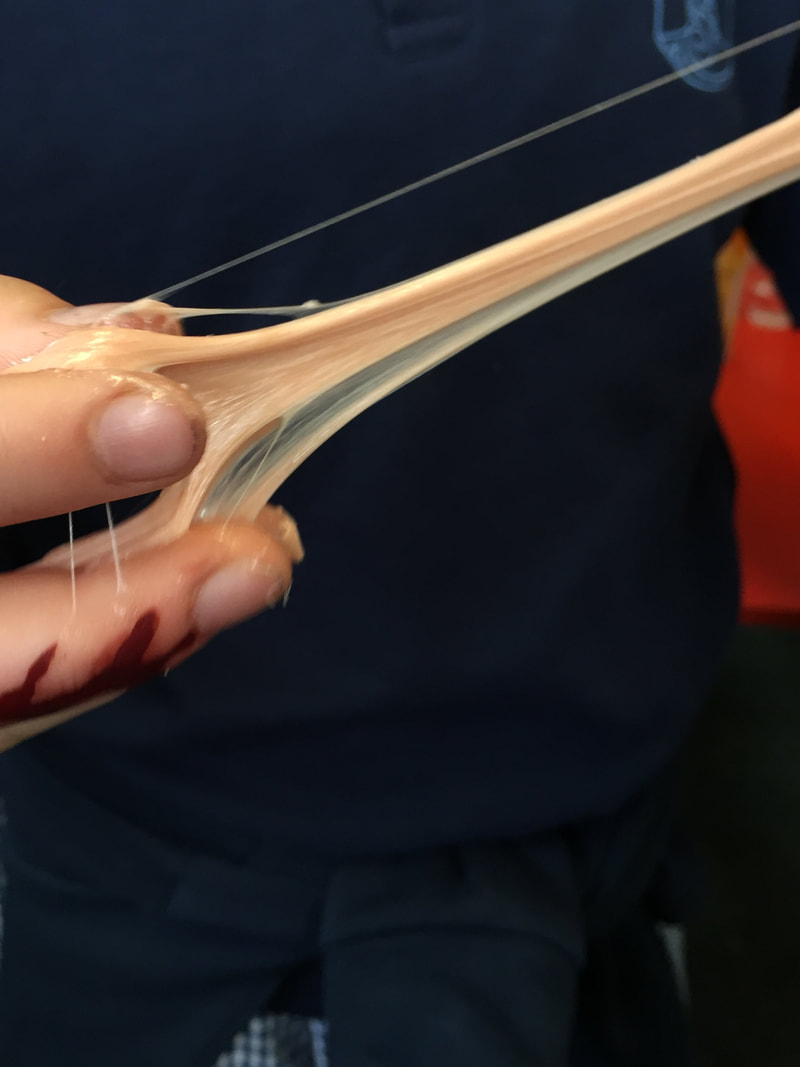
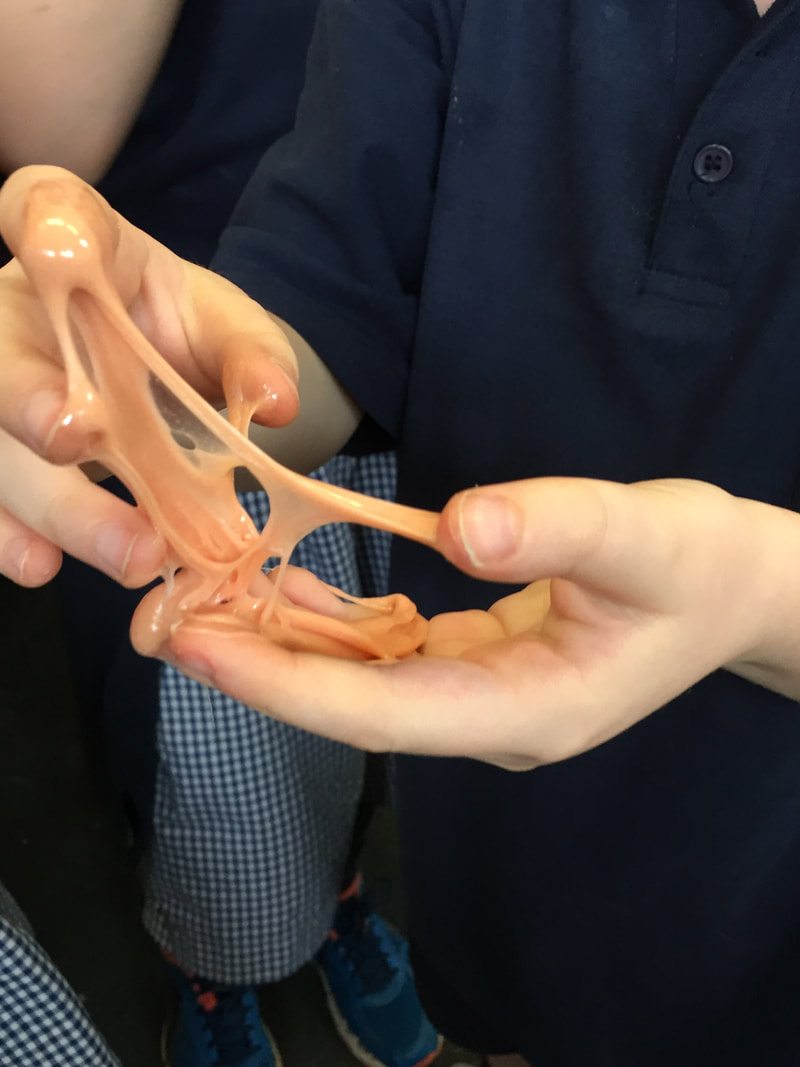
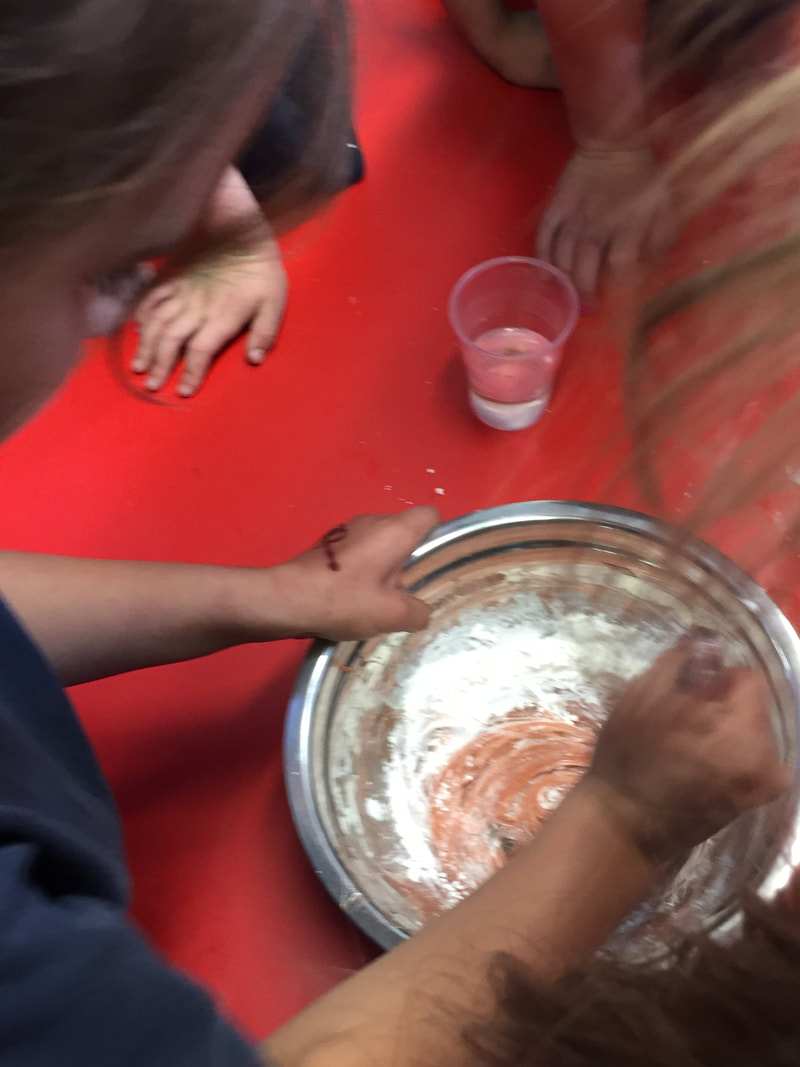
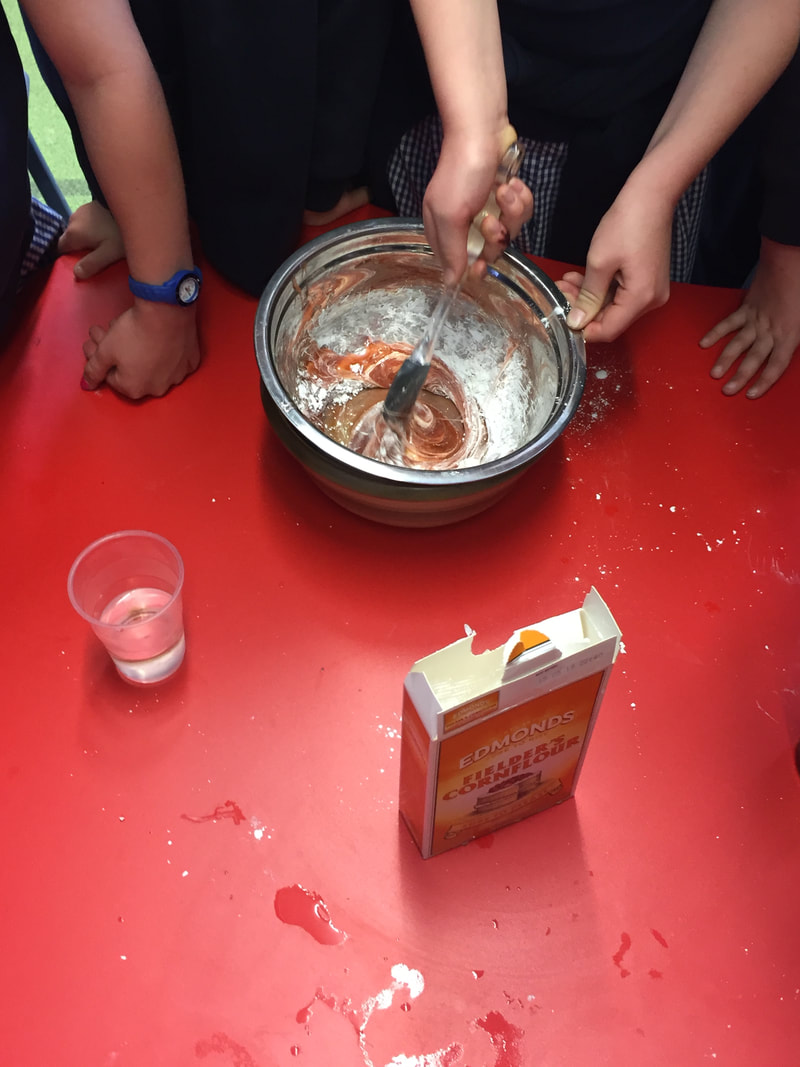
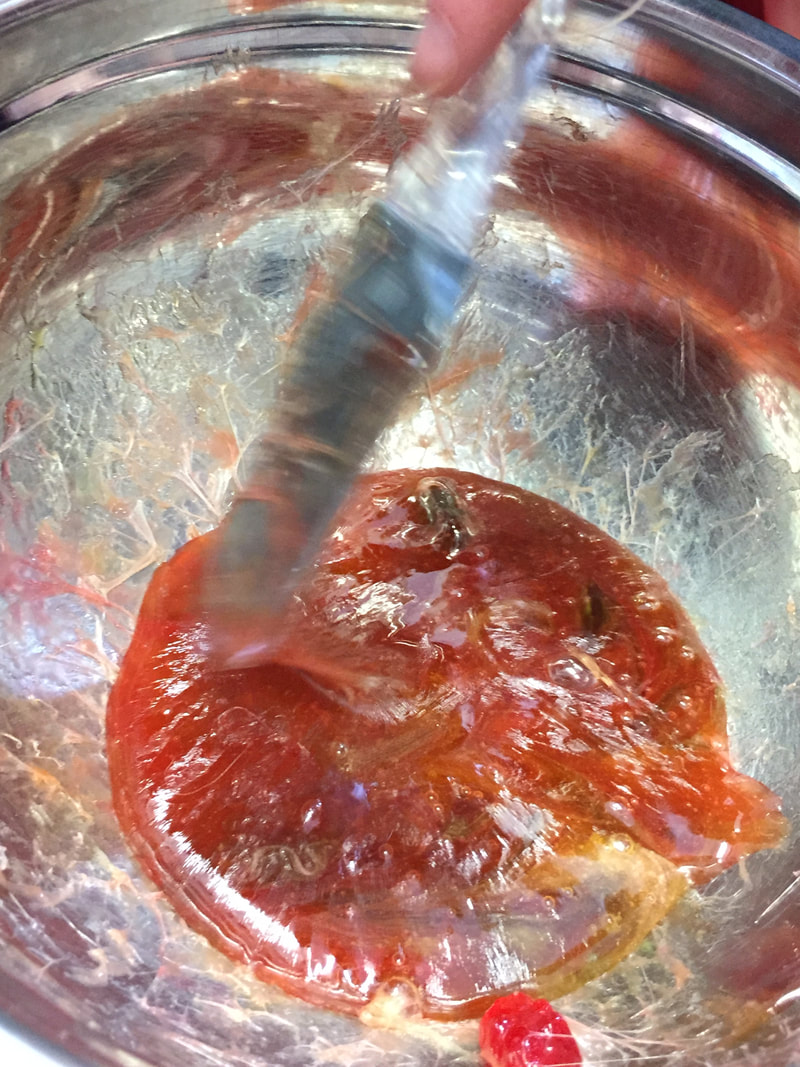
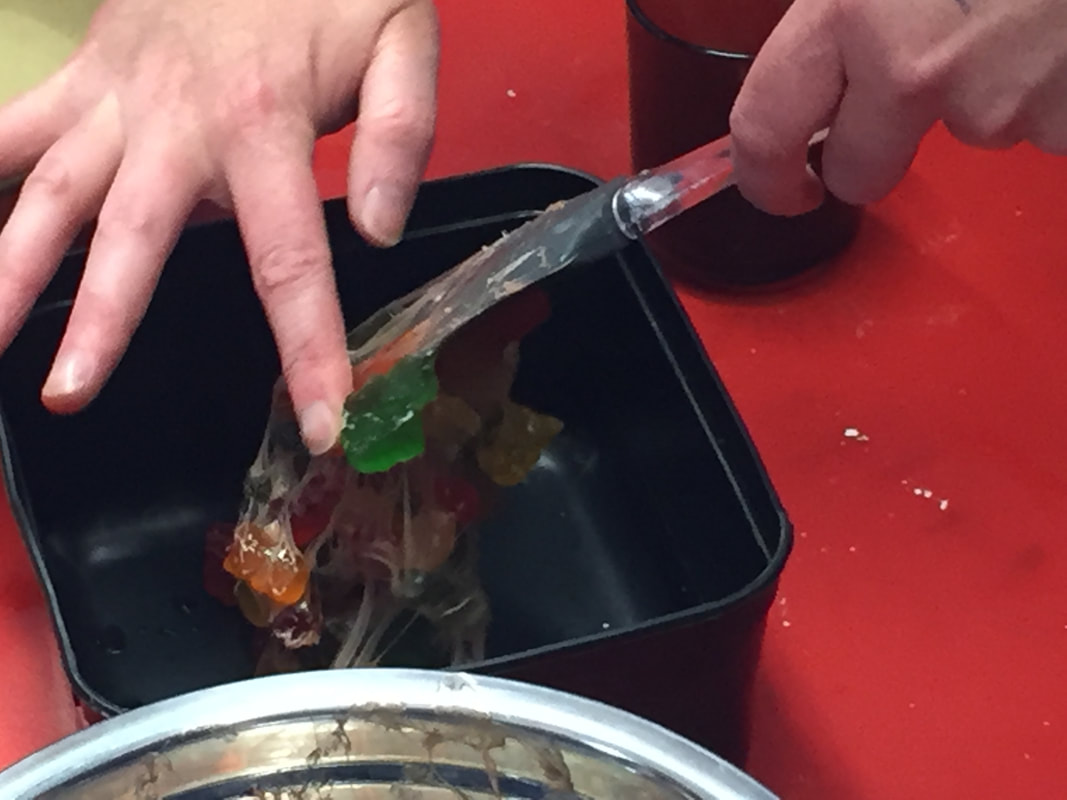
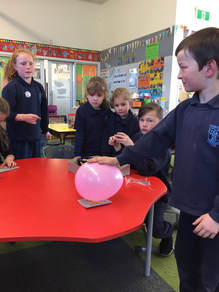
In term 4 the ideas for science club come from the students. It's no surprise that the first experiment request was edible slime. As we discovered last week the slime everyone has been making is a polymer. This however is not edible. To create an edible version we used cornflour and gummy bears. When cornflour is mixed with water it creates gloop - a non-newtonian fluid. This time we mixed it with melted gummy bears to create a thicker malleable slime As you can see in the photos below it was different from slime, more stretchy and stringy, but a lot of fun! Making slime has to be one of the most popular experiments this years. Lots of children had made it before but didn't know the science behind it. Here's how it works: The glue is a polymer material. A polymer is a long chain of identical, repeating molecules. When we add the borax it changes the structure of the chain making the polymer thicker which then makes slime. So using all the expertise in our club we made our own slime. One of the students was inspired by a video they saw on youtube where you could push a pin into a balloon where is was covered by sellotape. Using this as a basis for the weeks experiments we looked at what pops a balloon and the changes you can do to stop it from popping. We tried the sellotape first and we were able to push three pins into the balloon! We then made a mat of pins to find out what happened when we pushed a balloon on it.
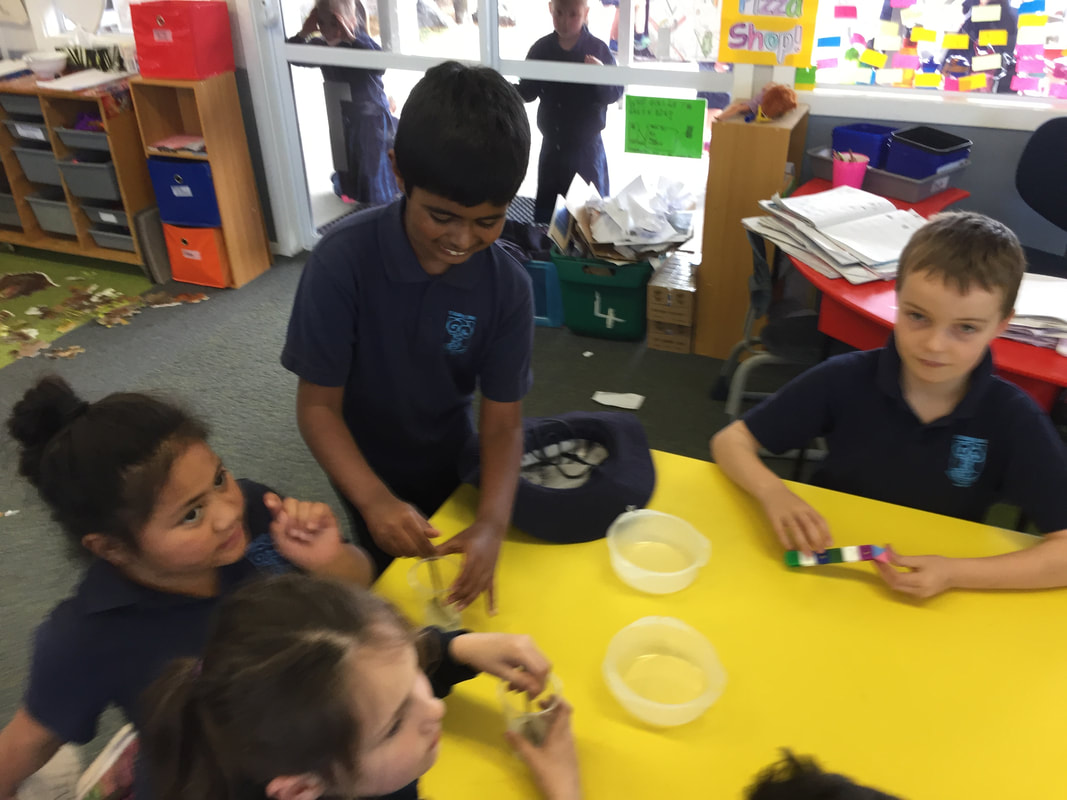
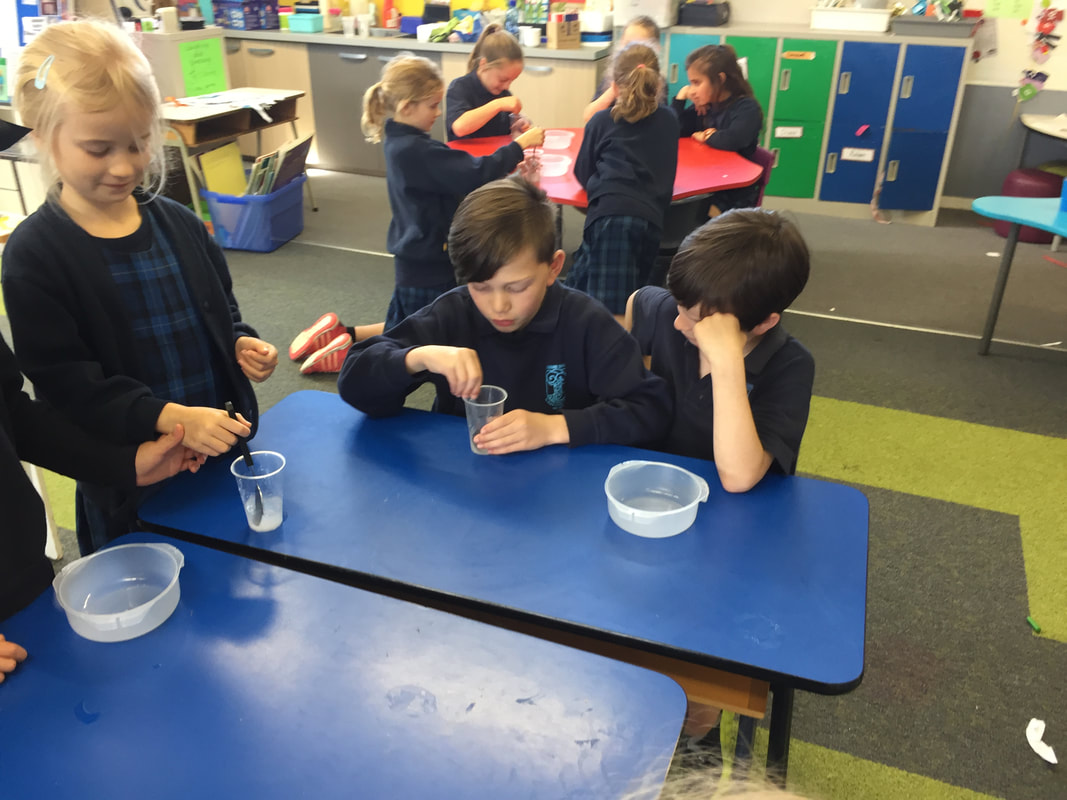
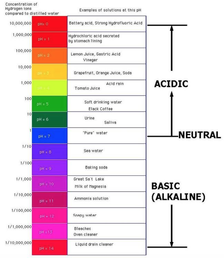
One of the best things about doing these experiments is the fantastic variations the students come up with to test the first theory. Amira wondered what would happen if we made another bed of nails and squashed a balloon between the two. Check out the video below to see what happened... I haven't updated the blog in a while. This isn't because science club hasn't happened, it's that the experiments have been exciting and involved and I've forgotten to take out the camera in time. Fortunately my science helpers have been reminding me and have captured our last few experiments. Over the last few weeks we have been looking at alkalines and acids and how they react. We created an acid-base indicator from red cabbage. You blend red cabbage leaves with a bit a water and then strain it. It will be a bright purple. When you add the cabbage juice to other liquids it will change colour depending on its acidity.
After learning that all liquids have different alkaline and acid levels we did one of the most well-known and fun experiments mixing the two - baking soda and vinegar. For this variation we mixed the two in an old film canister and watched what happened. The explosion is impressive and the film canister rocket shoots 5 metres in the air! The students loved watching the rocket and even started coming up with their own variations - is it more important to have more vinegar or baking soda? As we didn't catch our own rocket on video here is a youtube clip of the experiment of what we did. In last weeks experiment lots of students enjoyed playing with the icy water and seeing how long they could keep their hands in the water. This lead to us wondering how polar bears survive in the arctic waters. There are a few important factors (fur type, skin colour) but the main reason is polar bears have a 4 inch layer of fat under their skin. Soo all we had to do was make up a layer of fat to cover our hands with and we were set. The next question was where to get the fat? And that's where the butter came in. We got some cream and put it in a jar with a marble. We then proceeded to shake it as hard as we could, taking turns when we got tired. After about 7 minutes the cream started changing. We knew it was ready when we could see some very thin milk at the bottom and in the middle of the jar - butter! We then had to try it to see if it was really butter. Once we had the fat we put a back full of fat in a container full of icy water to see if it made a difference. And it did! How it works:
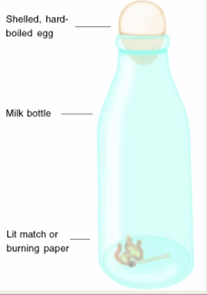
As the cream is shaken, the fat molecules get out of position and clump together, eventually clumping so much that butter forms. You can tell this because the fat molecules have clearly separated from the liquid in the cream. This experiment idea came from one of our students in science club. Neave had read in one of her science books at home about an egg being sucked into a bottle. We first tried it the traditional way of lighting some candles in a glass bottle and then placing a boiled egg on the top. The egg was slowly sucked into the bottle neck but got stuck halfway. We then tried it a different way. We stuck three candles into the egg and then lowered the bottle over the egg. Quick as a flash the egg got sucked all the way into the bottle! No photos of this experiment as we got too excited doing it.
To help us understand more about air pressure we also did another experiment. We had some trays full of icy water. We then placed an empty bottle on top that had just been full of hot water. After the bottle had been in the water for a short while we observed that it was starting to crack and constrict. |
On WEDNESDAY lunchtimes Year 2-6 students come together to learn about scientific concepts. Archives
November 2017
|
| St Albans' Science Club |
|
 RSS Feed
